The truck drops a gauge, flashes a warning, or loses the cruise for a few seconds, then it is fine again. By the time it rolls into the bay, every module talks and the codes are history. Intermittent CAN and J1939 faults are some of the most expensive problems on a heavy truck, because guessing means swapping modules that were never bad. The fix is a process: capture the evidence, check power and grounds, test the network itself, and catch the fault while it happens.
Why J1939 faults come and go
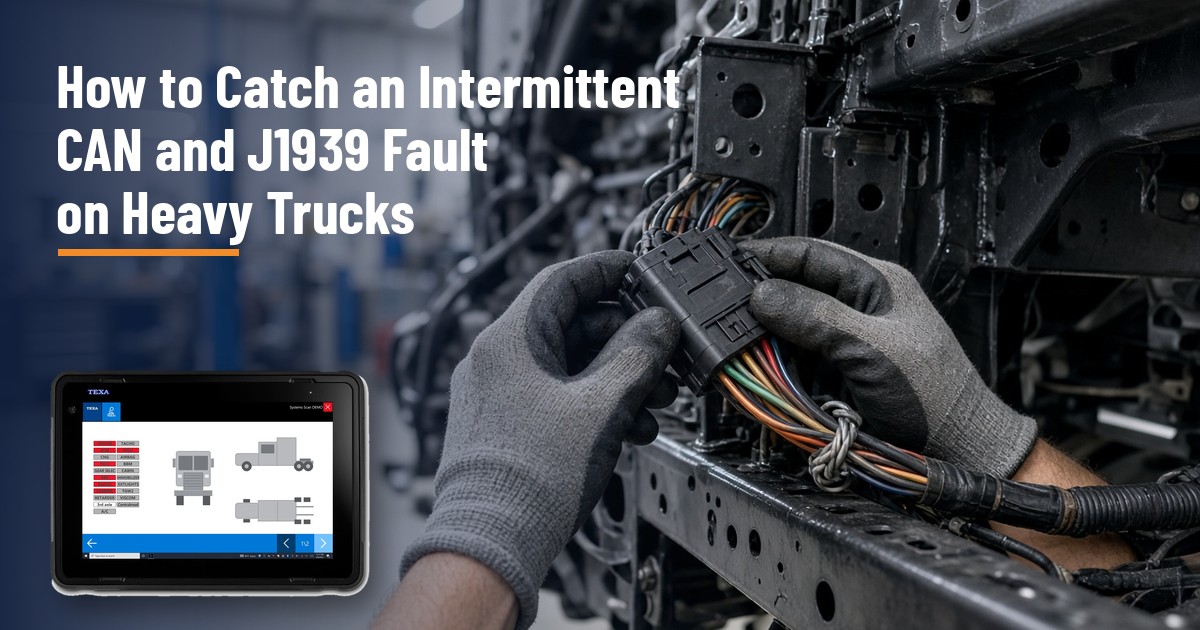
J1939 is the high speed CAN network most heavy trucks use to connect the engine, transmission, ABS, instrument cluster and other modules. It runs on two twisted wires, CAN high and CAN low, with a terminating resistor at each end of the backbone. Intermittent faults usually come from things that change with conditions: a connector that opens with vibration, a chafed wire that shorts when the cab flexes, corrosion that gets worse when it is wet, or a module that browns out when its supply voltage dips. That is why the fault rarely shows up on a cold truck sitting still.
Step 1: Capture the evidence before you clear anything
- Record the full code list from every module, with freeze frame data and occurrence or history counters, before clearing. Photos work.
- Note which modules logged communication codes and which did not. A module that never complains can point to where the problem sits on the network.
- Ask the driver when it happens: cold or hot, over bumps, in rain, at key on, under load. Those conditions are what you will need to reproduce.
- Check repair history. Recent body work, accident repair or added equipment can point to a damaged harness or a new device on the network.
Step 2: Power and grounds come first
When several modules set communication codes at once, the network is often fine and a module is losing power. Check the module power relay, fuses and grounds before you replace anything. Test them loaded, with the key on and while cranking or with the circuit working, not just with a meter on an open circuit. A small burned spot on a fuse or relay terminal can drop several volts under load. Measure voltage drop across feeds and grounds while the fault is present if you can. Our post on how voltage drops brick modules covers why low supply voltage causes so much trouble.
Step 3: Quick network checks with a meter
- Termination resistance. With the batteries disconnected, measure between CAN high and CAN low at the diagnostic connector. About 60 ohms means both terminating resistors are present. About 120 ohms suggests one is missing or the backbone is open. About 40 ohms or lower suggests an extra terminating resistor, often from an added device or the wrong replacement part, or a short between the wires. Check the OEM spec and wiring diagram for your truck.
- Wiggle while you measure. Flex harness sections and connectors while watching the resistance. A reading that jumps points you to the section that moves.
- Shorts to power or ground. Check each CAN wire to ground and to battery positive per the OEM procedure.
Step 4: Trust the raw signal, not just the PID
A scan tool shows what the module thinks. When a sensor or circuit drops out, many modules substitute a default value that looks believable on the screen. The same idea applies to the network: a PID that freezes or a value that looks normal can hide an intermittent dropout. Measure the raw sensor voltage or the CAN signal itself when the data does not add up.
Step 5: Catch the fault in the act
A meter is too slow for a fault that lasts a fraction of a second. A scope or graphing meter catches what a meter misses:
- Use a long time base. A fast time base hides brief dropouts. A view of around 2 seconds on screen helps you see them, though it can still miss very short events.
- Add the two wires together. On a healthy high speed CAN bus, CAN high and CAN low mirror each other, so their sum stays close to a flat line near 5 V. A math channel that adds them makes a dropout stand out. Voltages vary by system, so verify on the truck.
- Set a mask and an alarm. A tight mask on that math channel with an audible alert lets you road test or wiggle harnesses without staring at the screen.
- Reproduce the conditions. Heat, load, vibration and moisture are what make intermittents appear. Confirm power and ground while it fails.
How TEXA IDC6 Truck helps
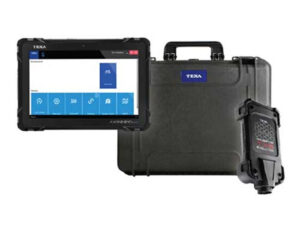
On supported vehicles, TEXA IDC6 Truck scans the modules on the truck in one session, reads fault codes with freeze frame and status information, and shows live data so you can watch values while you wiggle harnesses or road test. That gives you the evidence for steps 1 and 4 across many makes in one tool. Coverage varies by make, model and year, so check it for your fleet. Browse our heavy duty diagnostic tools.
Ask why before you replace
If a module really failed, ask why. A chafed harness, a bad ground or a voltage spike can kill the replacement too. Fix the cause and document it.
Build the diagnostic habit
Finding the cause, not just the symptom, is a skill. Mechanic Mindset’s Diagnostic Coach is online diagnostic training from Darren Quinn built around a step-by-step method for testing before replacing parts, which fits intermittent network faults well. Defy Diagnostics is an affiliate of Mechanic Mindset; the training is theirs. As Mechanic Mindset’s current offer, subject to change, the annual plan includes a free multimeter and sensor simulator.
Support from Defy Diagnostics
Active TEXA users get remote support from Dave, 9 to 5 ET, covering tool hardware and software, plus remote training on using the tool. We help with setup and activation so your team can get to work faster. TEXA tools from Defy carry a 1-year warranty. Browse our TEXA diesel and heavy duty diagnostic kits or call 864-803-3744 or email Dave@DefyDiagnostics.com for a kit quote.
Frequently asked questions
What causes intermittent J1939 communication faults?
Common causes include loose or corroded connectors, chafed wires, a missing or failed terminating resistor, and modules losing power or ground. Faults that change with vibration, heat or moisture point to wiring and connections.
What should J1939 resistance read?
With the batteries disconnected, about 60 ohms between CAN high and CAN low usually means both terminating resistors are present. About 120 ohms suggests one is missing or open. Check the OEM spec for your truck. Much lower, around 40 ohms, can mean an extra terminator.
Why do several modules set communication codes at once?
Often because a module or group of modules is losing power or ground. Check power relays, fuses, grounds and voltage drop under load before replacing modules.
How do I catch a CAN fault that only lasts a second?
Use a scope or graphing meter with a long time base, add CAN high and CAN low in a math channel, and set a mask with an alarm while you reproduce the conditions.
Can TEXA IDC6 Truck help with network faults?
On supported vehicles, IDC6 Truck reads codes from many modules with freeze frame data and shows live data, which helps capture evidence. Pair it with meter and scope tests on the wiring.
Talk to a Diagnostic Expert
Want to know what IDC6 Truck covers on your fleet? Call 864-803-3744 or email Dave@DefyDiagnostics.com.